
This site stays free thanks to small commissions from links like the ones below — it never costs you anything extra, and it never changes what we recommend. As an Amazon Associate we earn from qualifying purchases. Learn more.
Dehydrating is the cheapest, lowest-effort way to turn a bulk harvest or a grocery sale into food that lasts a year or more on a shelf, no power needed once it’s done. This guide covers how to dehydrate food at home: equipment, technique, and how to store it so it actually lasts.
Quick answer
Slice food thin and uniform, dry it at 125–135°F for fruit and vegetables and 145–160°F for meat (jerky) until it’s leathery or brittle with no moisture pockets, then cool completely and store airtight with an oxygen absorber. A dehydrator gives the most consistent results, but an oven on its lowest setting works for occasional batches.
Equipment
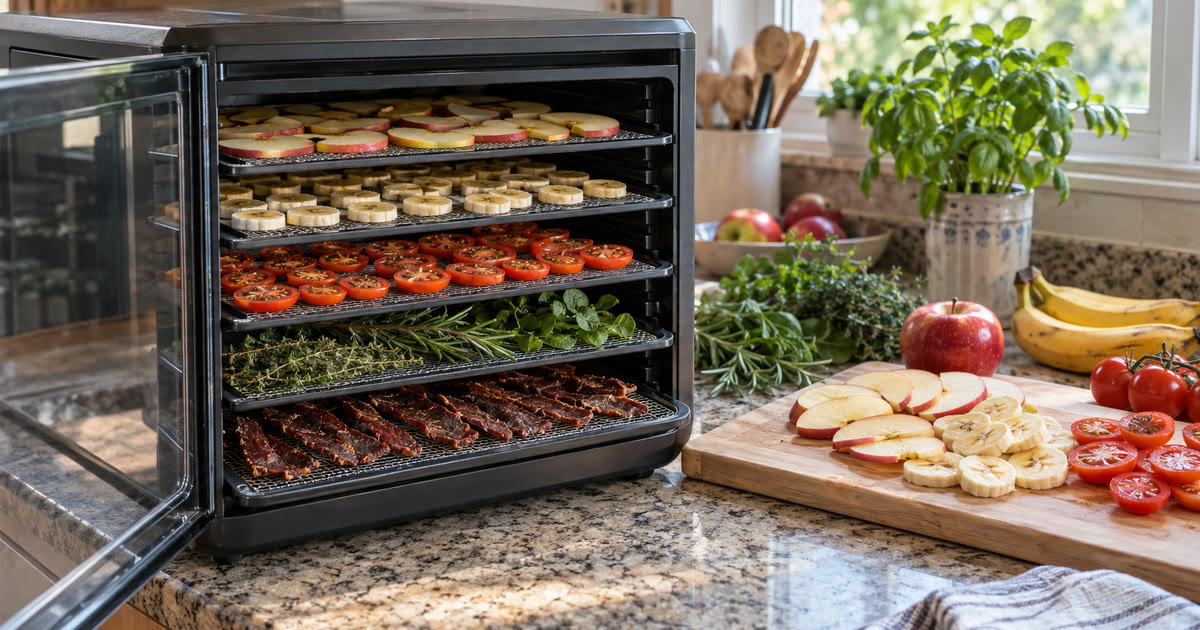
- Electric dehydrator — stackable tray or box-style models both work; box-style with a rear fan dries more evenly. Look up a food dehydrator.
- Oven method — works on the lowest setting (usually 170°F) with the door propped open a few inches for airflow; less efficient and less precise, fine for small batches.
- Mandoline or sharp knife for uniform, thin slices — even thickness is what makes drying predictable.
- Vacuum sealer and oxygen absorbers for long-term storage. Look up oxygen absorbers.
Preparing food to dry
- Slice thin and uniform — roughly 1/8–1/4 inch for fruit and vegetables. Thicker pieces dry unevenly and can spoil in the center before the outside is done.
- Blanch most vegetables first (a quick dip in boiling water, then ice water) to stop enzyme activity that causes off-flavors and color loss during storage. Fruit generally doesn’t need this.
- Pretreat fruit prone to browning (apples, pears, bananas) with a quick dip in lemon juice or an ascorbic acid solution.
- Trim fat off meat for jerky — fat doesn’t dry and goes rancid, shortening shelf life significantly.
Drying temperatures and times
- Fruit: 125–135°F, 6–12 hours depending on thickness and water content.
- Vegetables: 125–135°F, 6–12 hours; leafy greens dry much faster (2–4 hours).
- Meat (jerky): 145–160°F to ensure food safety, 4–8 hours. Marinate first for flavor and some preservation benefit, and use lean cuts.
- Herbs: 95–115°F (or air-dry), just 1–4 hours — they’re delicate and easy to over-dry into flavorless dust.
How to tell it’s done
- Fruit should be leathery and pliable, with no visible moisture when you cut a piece open; it shouldn’t feel sticky or wet.
- Vegetables should be brittle to leathery depending on type — they’ll snap or crack rather than bend when fully dry.
- Jerky should bend and crack slightly, not snap cleanly (too dry) or feel squishy (not done).
- Test a few pieces from different trays/positions, since drying isn’t always perfectly even.
Cooling and conditioning
Let dried food cool completely before packaging — sealing it warm traps condensation that causes mold. For fruit especially, “condition” it: put the cooled, dried pieces loosely in a jar for 7–10 days, shaking daily. This equalizes moisture between pieces, so if any batch member was under-dried, it becomes obvious (visible moisture or mold) before you seal everything long-term.
Storage for the long haul
- Vacuum-sealed bags or mason jars with oxygen absorbers give the longest shelf life by removing the air that causes oxidation and supports mold.
- Store cool, dark, and dry — a pantry shelf away from the stove or a basement, not a hot garage.
- Typical shelf life: dried fruit and vegetables stored properly last 6 months to a year at room temperature, longer in the freezer; jerky lasts 1–2 months at room temperature (refrigerate or freeze for longer).
- Label with contents and date — dried foods can look similar once packaged.
What dehydrates well (and what to skip)
- Great candidates: apples, bananas, berries, tomatoes, peppers, onions, carrots, herbs, lean jerky, and cooked beans/rice for backpacking meals.
- Trickier: high-fat foods (go rancid), high-water foods like watermelon (long dry time, little payoff), dairy (needs specialized methods for safety).
- Rehydration: most dried vegetables and fruit rehydrate well in warm water or straight into a soup or stew.
Frequently asked questions
What temperature should I dehydrate food at?
125 to 135°F for fruit and vegetables, 145 to 160°F for meat to make jerky safely, and 95 to 115°F for herbs. Higher temperatures for meat matter for food safety, not just speed.
Do I need to blanch vegetables before dehydrating?
Most vegetables benefit from a quick blanch first, which stops enzyme activity that would otherwise cause off-flavors, color loss, and faster spoilage during storage. Fruit generally doesn’t need blanching.
How long does dehydrated food last?
Properly dried and sealed fruit and vegetables typically last 6 months to a year at room temperature, longer in the freezer. Jerky lasts about 1 to 2 months at room temperature and longer refrigerated or frozen, since its higher moisture and fat content shortens shelf life.
Can I dehydrate food in a regular oven?
Yes, on the lowest setting with the door propped open a few inches for airflow, though it’s less energy-efficient and less precise than a dedicated dehydrator. It works fine for occasional or small batches.
Why do you need to cool and condition dried fruit before storing it?
Sealing warm food traps condensation that can cause mold. Conditioning, letting cooled fruit sit loosely in a jar for a week while shaking it daily, equalizes moisture between pieces and reveals any under-dried spots before you commit to long-term sealed storage.
What foods should you avoid dehydrating?
High-fat foods go rancid rather than storing well, very high-water foods like melon take a long time for little yield, and dairy needs specialized methods to dry safely. Lean fruits, vegetables, and lean meats give the best results.
Bottom line
Slice thin and even, dry at the right temperature for the food type, confirm it’s fully dry before packaging, and store it airtight, cool, and dark. Dehydrating turns cheap bulk food into a shelf-stable pantry with almost no ongoing cost or power needed.
Related guides
🍞 Emergency Food Supply on a Budget
🥩 How to Preserve Meat Without Refrigeration
🌱 How to Start a Survival Garden
This article is for general informational purposes only. Follow current food-safety guidance for meat and jerky drying temperatures. Sources: USDA Complete Guide to Home Canning and food preservation; National Center for Home Food Preservation dehydration guidance.